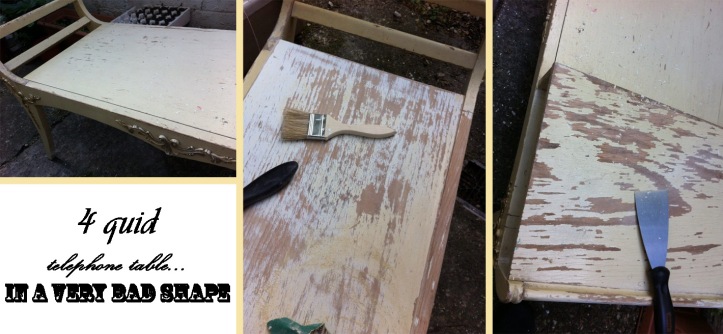
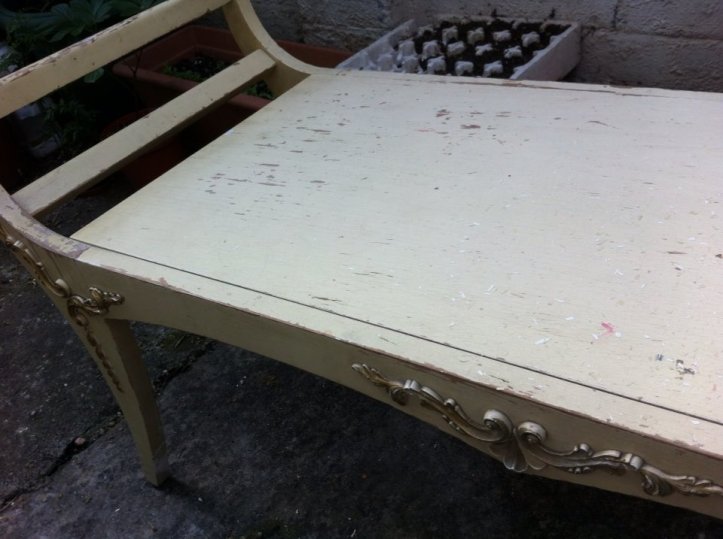
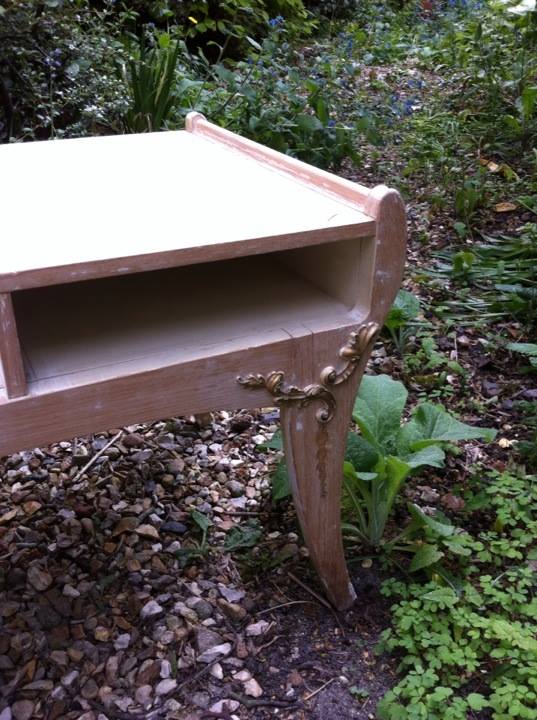
Like I mentioned in my first post I did a few trips to some carboot sales and this telephone table is one of the items I purchased. It only costed me £4 and I still don’t know if it has worth the money.
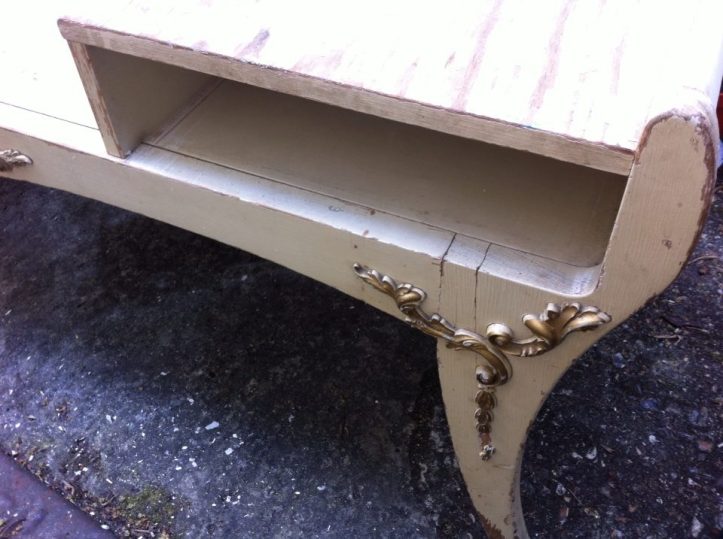
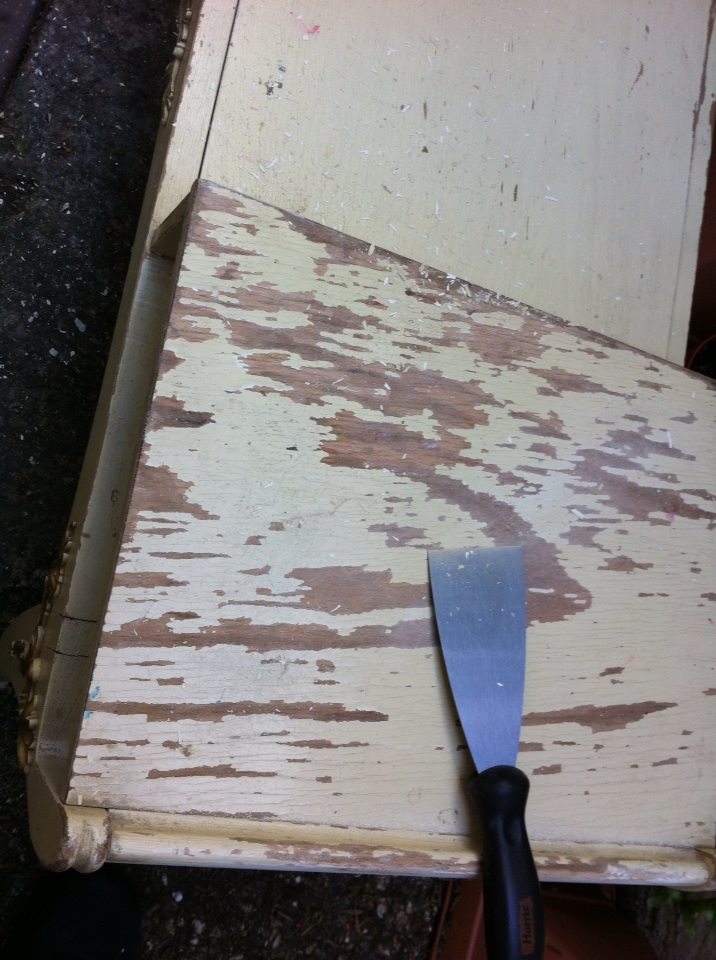
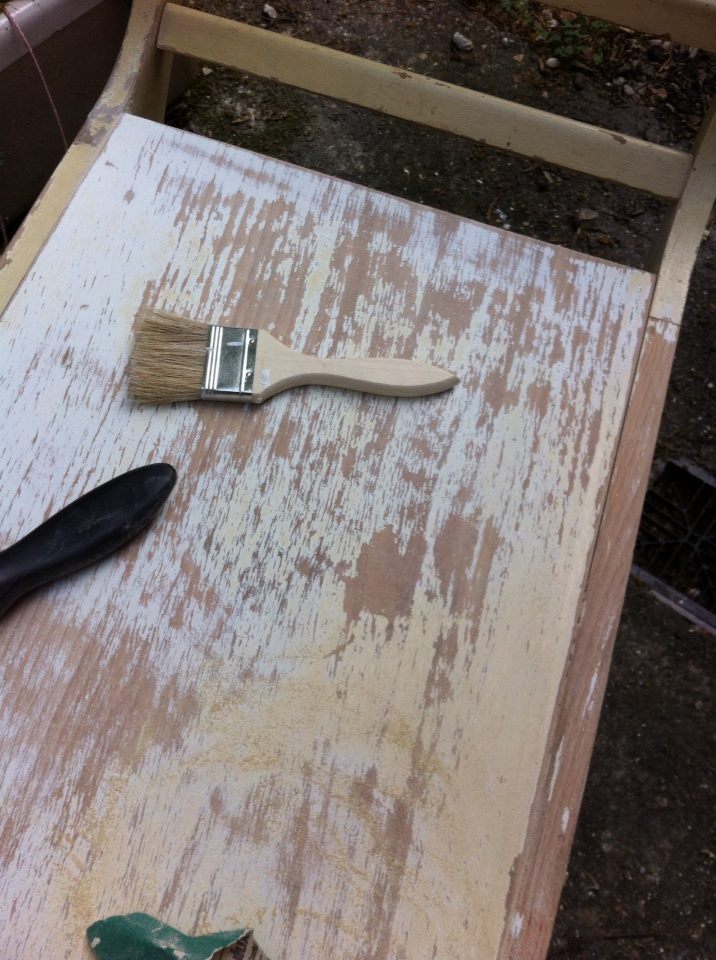
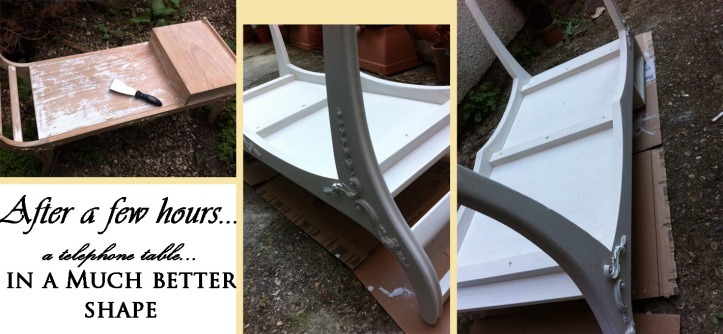
As you can see the paint was coming off, the accents were broken and I did expect to have a fair amount of work ahead, especially without proper tools and when I say that I mean an electric hand sander. Only that would have made my life 200% easier. But… I had t work with what I had.
What I used
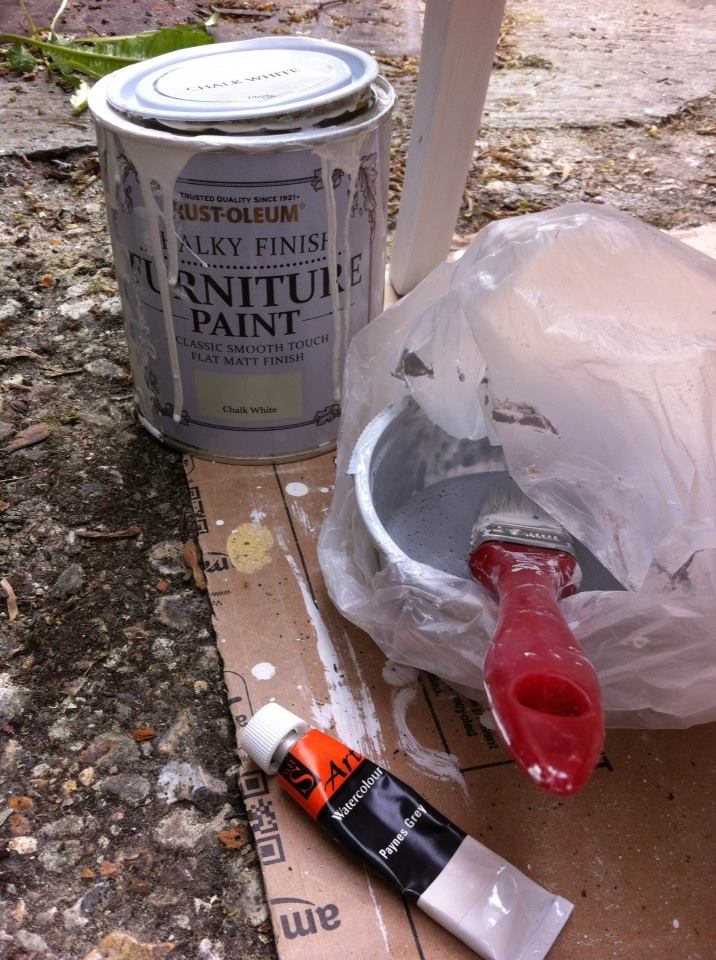
- Chalk White paint Rust Oleum from Homebase – £12.99. You can also find it on Amazon but is a bit more pricey
- clear wax Rust Oleum from Homebase – £8. Also can be found on Amazon
- 1 brush set (a set I got for… 99p)
- sand paper (mine was a 10cm piece Dulux. I will write later on about my experience with sandpaper)
- clean cloth
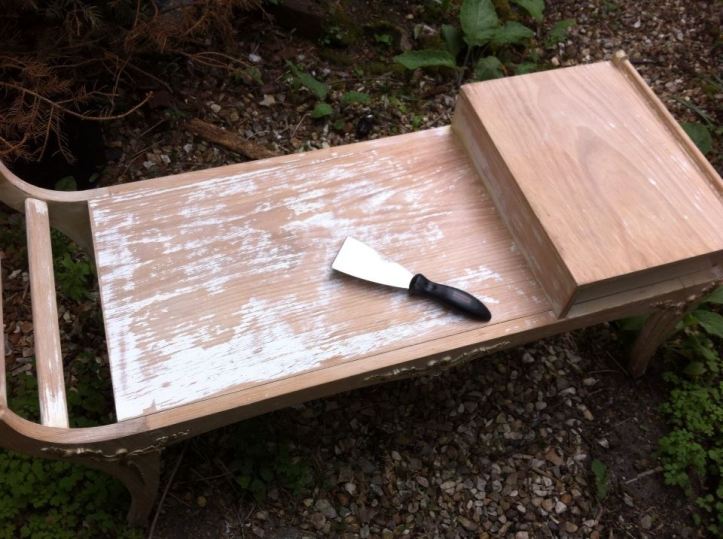
- wood filler (from poundland – £1. Was ok hence the table only had small cracks, but I don’t recommend it for filling up deep cracks on the edges or missing wood)
- small spatula to use the wood filler (mine was from a painting set and did the job perfectly).
- filler knife (again from poundland and it was fine. No need to spent a lot on it)
- Acrylic black tube
- masking tape (poundland supplied but being made from paper did crepe on the edges and it wasn’t perfect. If you want it perfect I suggest to get a plastic one)
Steps
1. Clean the piece and check to see if there are scratches, cracks, deep marks
2. Fill up where is needed (use instruction given on the package
3. Wait to dry and check after the time written on the package
4. Sand down to have everything at the same level
5. Dust it. I used an extra dry brush to get everything out especially from corners then went over it with a cloth
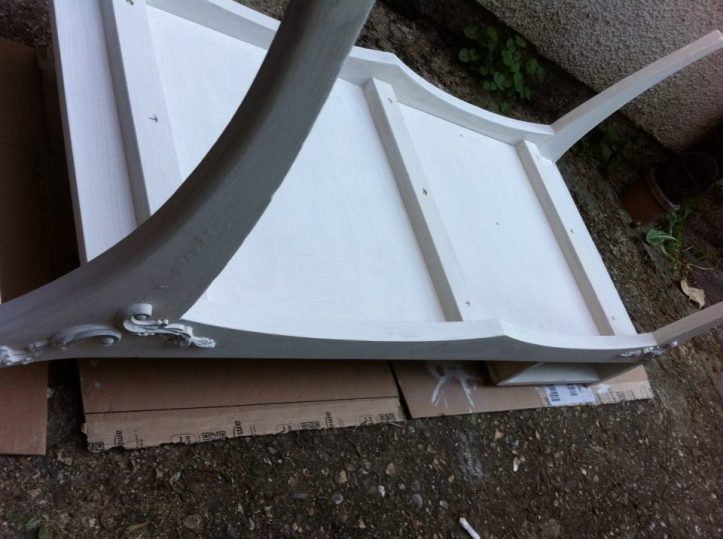
6. Paint first layer. It really doesn’t matter if it looks smooth or not
7. Wait to dry
8. Apply a second layer and wait for it to dry.
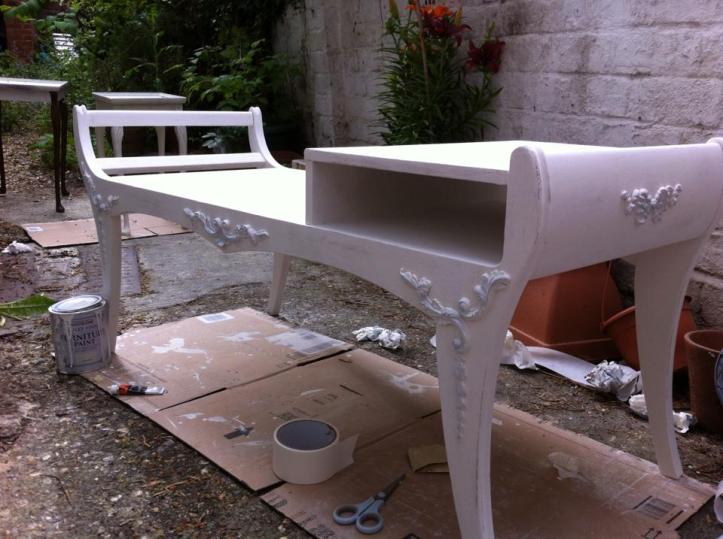
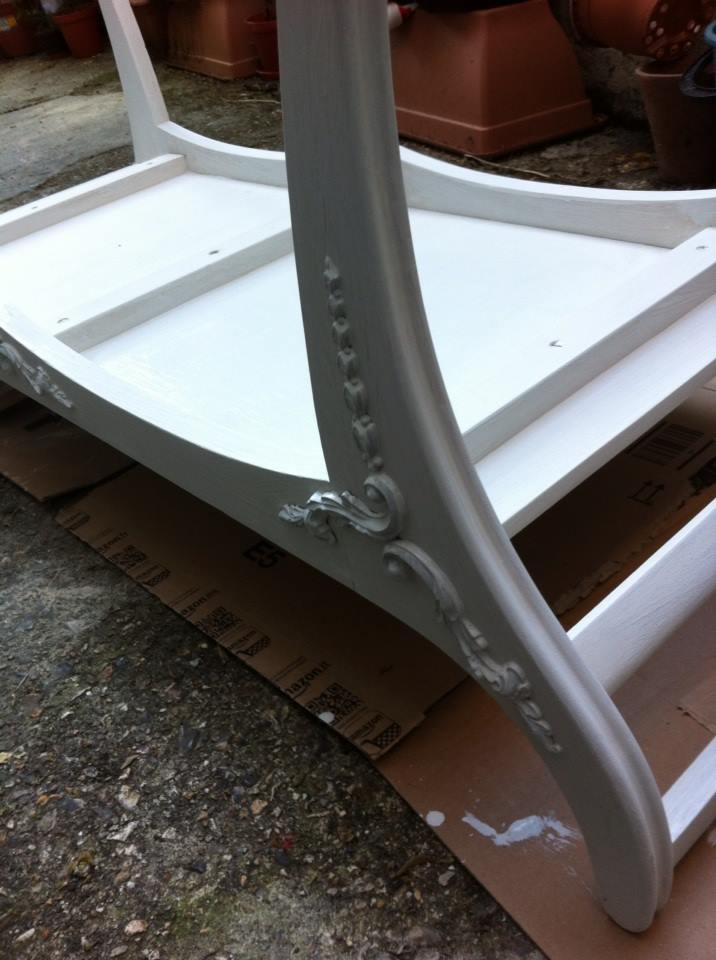
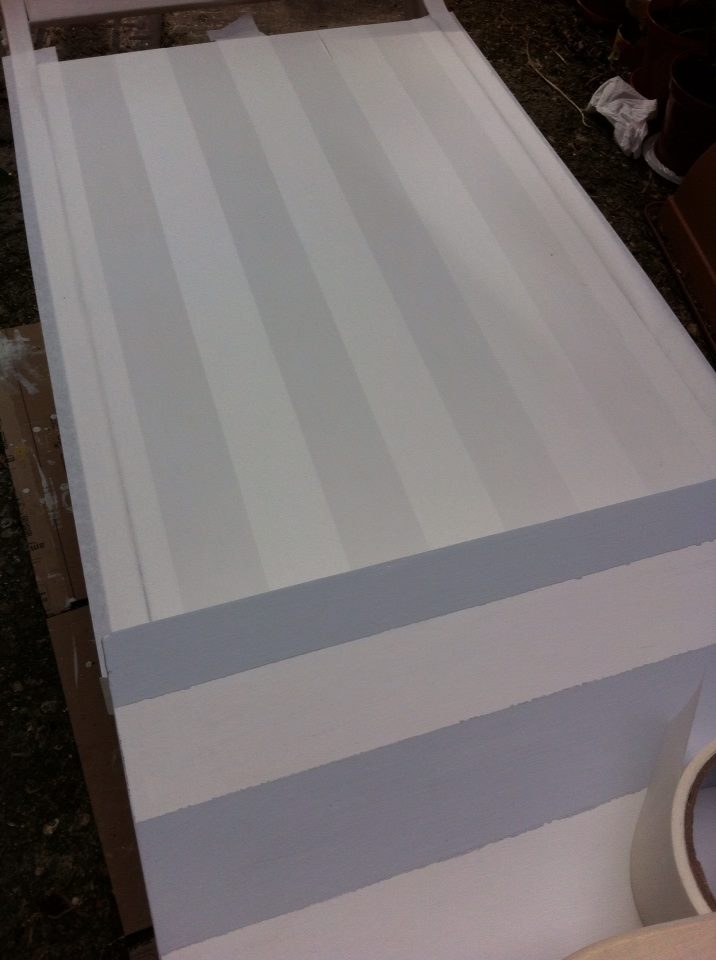
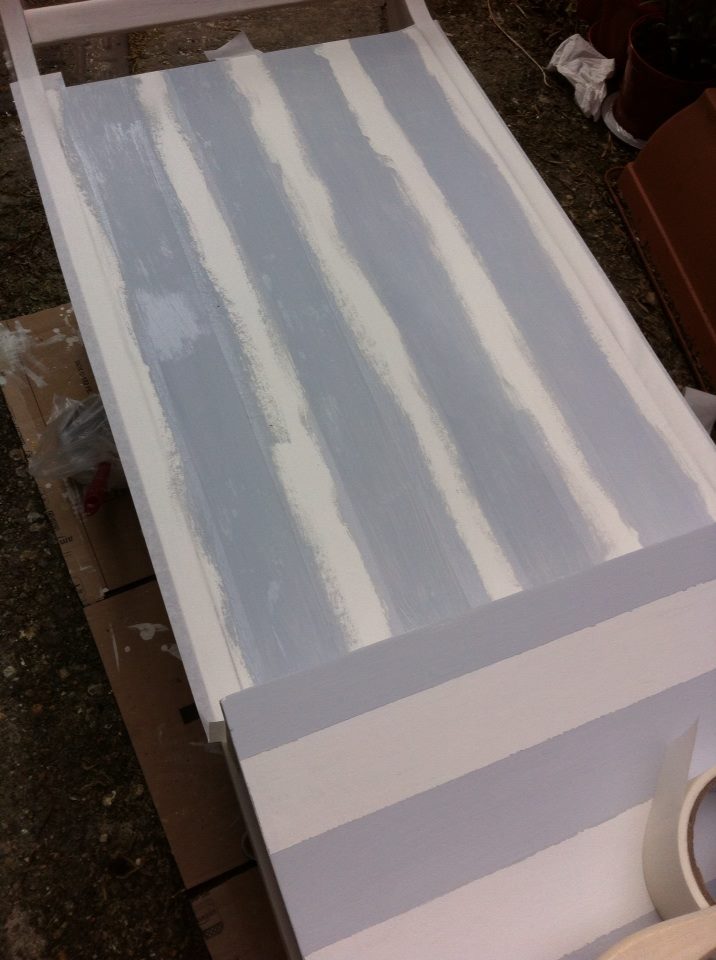
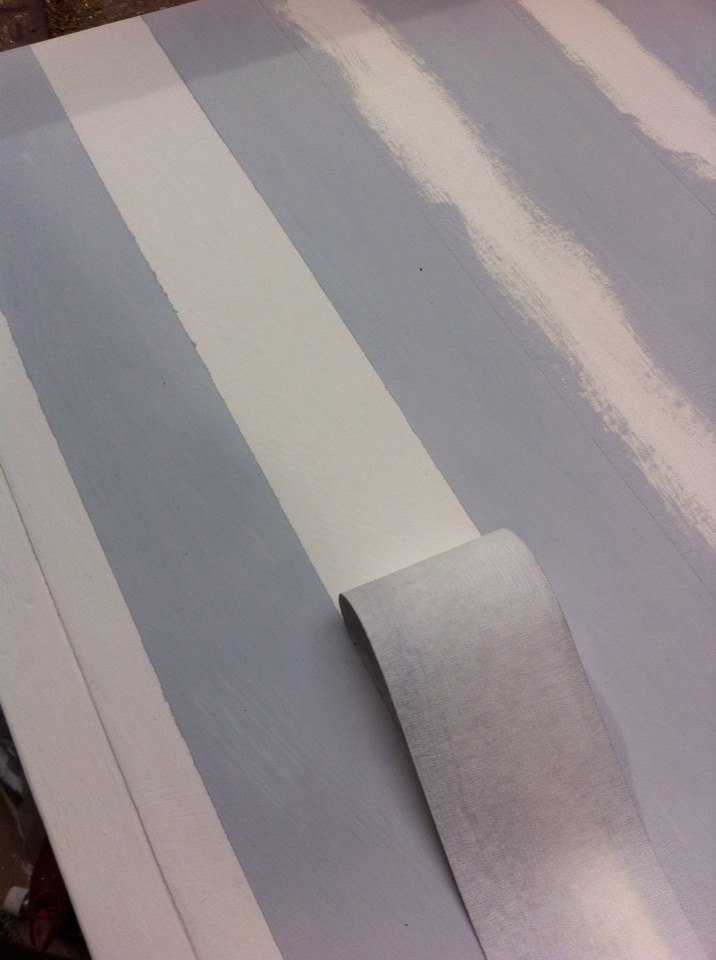
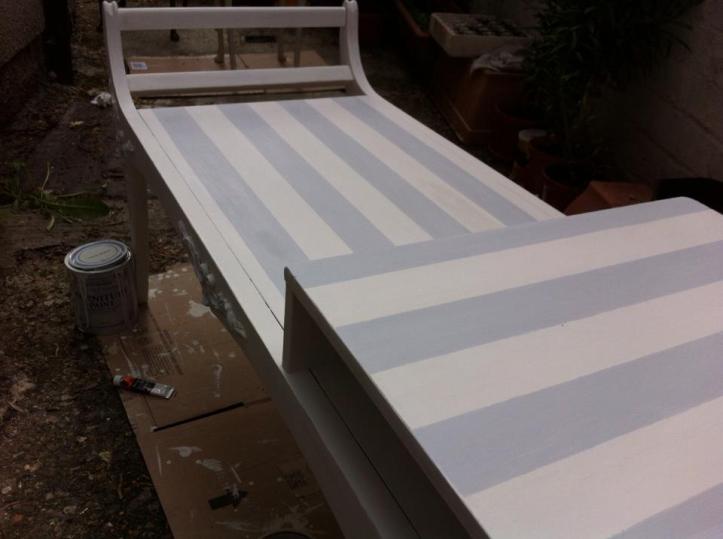
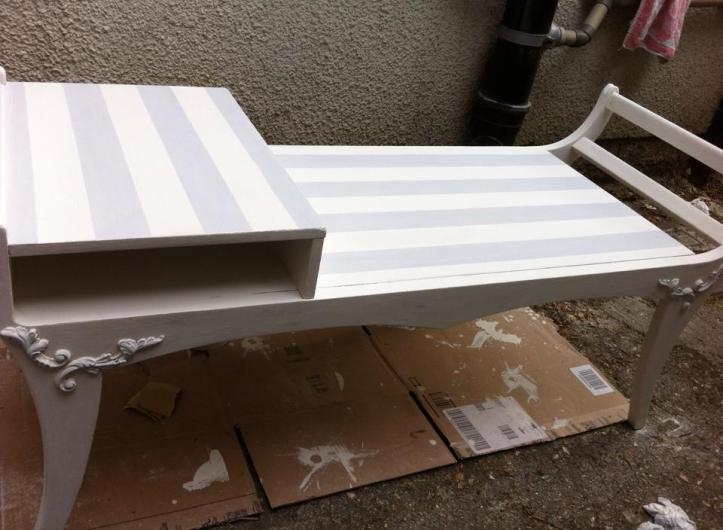
After my second layer dried I went to do the lines and here is where I used the masking tape. Took me a bit to do it right and that’s why the pictures are a bit dark… was getting late. For the gray paint, I just used 2 tablespoons of chalk paint with a bit of black acrylic paint and mixed it. The colour in my bowl was a bit darker, but I wasn’t aiming for more contrast.
Wait for the paint to dry before taking out the masking tape.
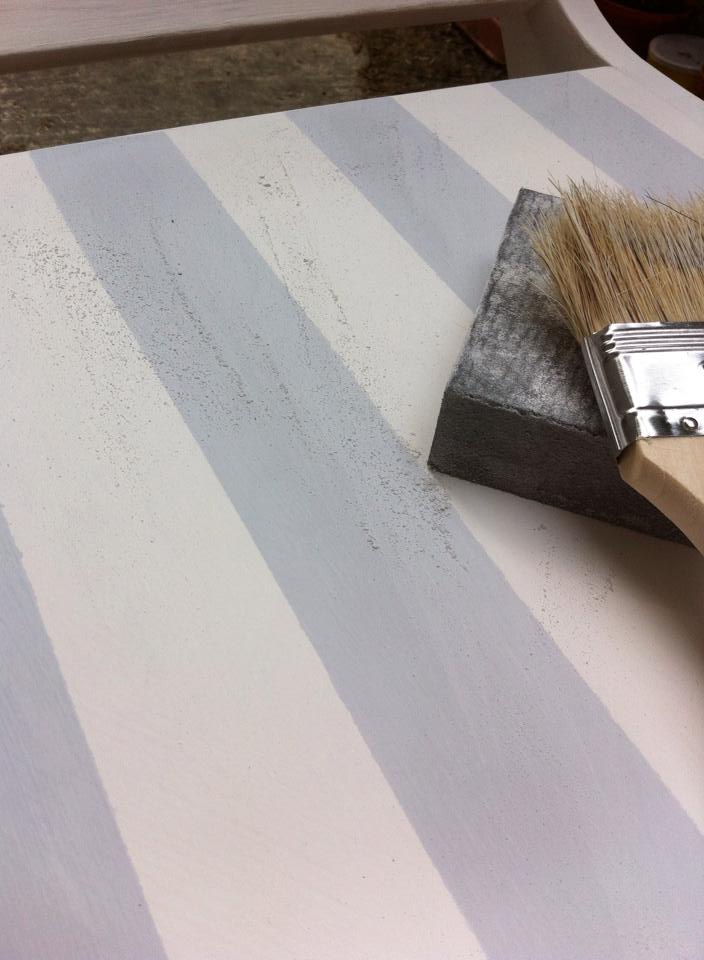
9. Distress it using the sandpaper (99% of everyone I watched or read from says to do it after waxing because of the dust. I prefer to do it before if I need a small retouch, but that’s me.)
I have also used sandpaper on the top to smooth out the lines and the entire surface.
9. Dust it!
10. Apply the wax! Wait 10-15 min then buff it with a cloth. An old t-shirt will do just fine.
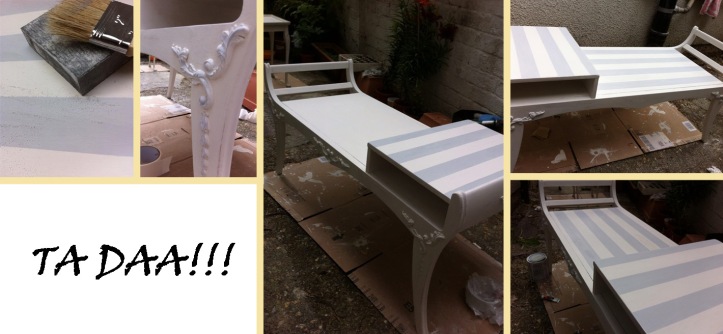
After looking at the table for a while I do believe it looks like a sledge and I have doubts, but with the number of items I need to work on, I am not sure I want to redo the top of the table. Anyway… I am pretty happy with it.
Nice find and beautiful transformation!
LikeLike
Thank you. I was very fond of it by the end of the project
LikeLike